App Distribution
App Distribution lets you build and publish native iOS and Android apps directly from the admin panel. Configure your signing credentials, upload the required files, and trigger builds with one click.
Prerequisites
Section titled “Prerequisites”Before distributing your app, complete these steps in App Configuration:
| Requirement | Where to Set |
|---|---|
| App Name | App Configuration |
| App Icon | App Configuration → Branding Assets |
| App Logo | App Configuration → Branding Assets |
| Privacy Policy URL | App Configuration → URLs |
| Website URL | App Configuration → URLs |
Apple iOS
Section titled “Apple iOS”Setting up iOS distribution requires an Apple Developer account and several signing files. Follow each step in order.
1. Enroll in the Apple Developer Program
Section titled “1. Enroll in the Apple Developer Program”If you haven’t already, enroll at developer.apple.com/programs. The annual membership ($99/year) is required to distribute apps on the App Store.
2. Create an App ID
Section titled “2. Create an App ID”An App ID (bundle identifier) uniquely identifies your app on the App Store.
-
Click the + button to register a new identifier
-
Select App IDs and click Continue
-
Select App as the type and click Continue
-
Enter a Description (e.g., “My Streaming App”) and an Explicit Bundle ID (e.g.,
com.yourcompany.yourapp) -
Click Register
3. Create a Distribution Certificate
Section titled “3. Create a Distribution Certificate”A distribution certificate signs your app binary so Apple can verify it came from you.
-
Click the + button to create a new certificate
-
Select Apple Distribution and click Continue
-
You’ll need a Certificate Signing Request (CSR). On your Mac, open Keychain Access → Certificate Assistant → Request a Certificate from a Certificate Authority
-
Enter your email, leave CA Email blank, select Saved to disk, and click Continue
-
Upload the
.certSigningRequestfile to the Apple Developer portal and click Continue -
Download the generated
.cerfile and double-click it to install in Keychain Access
Export as .p12
Section titled “Export as .p12”The build system needs the certificate in .p12 format (which includes the private key).
-
Open Keychain Access on your Mac
-
In the login keychain, find your distribution certificate under My Certificates (it will say “Apple Distribution: Your Name”)
-
Right-click the certificate and select Export
-
Choose Personal Information Exchange (.p12) as the format
-
When prompted for a password, leave the password field blank and click OK. The build system expects a
.p12exported with no password. -
Save the
.p12file
4. Create an App Store Connect API Key
Section titled “4. Create an App Store Connect API Key”The API key allows the build system to upload your app to App Store Connect and manage TestFlight.
-
Click the + button to generate a new key
-
Enter a name (e.g., “CI Build Key”) and select the App Manager role
-
Click Generate
-
Download the
.p8key file immediately — you can only download it once -
Note the Key ID (shown in the keys list) and the Issuer ID (shown at the top of the page)
5. Upload iOS Assets
Section titled “5. Upload iOS Assets”Upload your signing files to the platform:
- In the admin panel, go to App Studio → Distribution → iOS
- Upload the following files:
| File | Description |
|---|---|
.p12 | Distribution certificate |
.p8 | App Store Connect API key |
6. Configure iOS Build Settings
Section titled “6. Configure iOS Build Settings”In App Studio → Distribution → iOS, enter the following settings:
| Setting | Value | Example |
|---|---|---|
| Bundle ID | The bundle identifier registered in step 2 | com.yourcompany.yourapp |
| Development Team ID | Your Apple Developer team ID (10-character alphanumeric) | WUZNCH97X6 |
| API Key ID | The Key ID from step 4 | ABC1234DEF |
| API Key Issuer ID | The Issuer ID from step 4 | 12345678-... |
Android
Section titled “Android”Setting up Android distribution requires a Google Play Developer account. The signing keystore is automatically generated by the platform.
1. Create a Google Play Developer Account
Section titled “1. Create a Google Play Developer Account”If you haven’t already, register at play.google.com/console/signup. There is a one-time $25 registration fee.
2. Create Your App in Google Play Console
Section titled “2. Create Your App in Google Play Console”-
Go to play.google.com/console
-
Click Create app
-
Fill in the app name, default language, app type (App), and whether it’s free or paid
-
Accept the declarations and click Create app
3. Create a Google Cloud Service Account
Section titled “3. Create a Google Cloud Service Account”A service account allows the build system to upload your app to Google Play automatically.
-
Go to console.cloud.google.com
-
Create a new project (or select an existing one)
-
Enable the Google Play Android Developer API:
- Go to APIs & Services → Library
- Search for “Google Play Android Developer API”
- Click Enable
-
Create a service account:
- Go to APIs & Services → Credentials
- Click Create Credentials → Service Account
- Enter a name (e.g., “Play Store Upload”) and click Create and Continue
- Skip the optional role and user access steps
- Click Done
-
Create a JSON key:
- Click on the service account you just created
- Go to the Keys tab
- Click Add Key → Create new key
- Select JSON and click Create
- Save the downloaded
GoogleCloudServiceKey.jsonfile
-
Link the service account to Google Play Console:
- Go to play.google.com/console → Users and permissions
- Click Invite new users
- In the email address field, enter the service account email (found on the service account details page in Google Cloud Console, e.g.
[email protected]) - Under App permissions, select your app and click Apply
- Under Account permissions, enable at minimum: Release to production, exclude devices, and use Play App Signing
- Click Invite user and then Send invite
4. Set the Application ID
Section titled “4. Set the Application ID”The Application ID is the unique package name that identifies your app on Google Play. It is permanently baked into the app binary and cannot be changed after the first upload to Google Play.
-
In the admin panel, go to App Studio → Distribution → Android
-
Enter your Application ID using reverse domain notation (e.g.,
com.yourcompany.yourapp) -
The field saves automatically
5. Upload Android Assets
Section titled “5. Upload Android Assets”Upload your files to the platform:
- In the admin panel, go to App Studio → Distribution → Android
- Upload the following files:
| File | Description |
|---|---|
GoogleCloudServiceKey.json | Google Play API service account key |
6. First Release: Manual Upload Required
Section titled “6. First Release: Manual Upload Required”Google Play requires the very first app bundle to be uploaded manually through the Play Console. The API cannot create a new app listing — it can only update existing ones.
-
Trigger a build from the admin panel — the build will succeed and produce an AAB file
-
Download the AAB from the admin panel (App Studio → Distribution → Android → Download)
-
In Google Play Console, go to your app → Testing → Internal testing → Create new release
-
Upload the AAB file and complete the release
7. Verify Android Configuration
Section titled “7. Verify Android Configuration”In App Studio → Distribution → Android, verify that all fields are filled in and no validation errors are shown before triggering a build.
Triggering a Build
Section titled “Triggering a Build”Once all configuration and signing assets are in place:
-
Go to App Studio → Distribution
-
Select the platform (iOS or Android)
-
Optionally set a version number (defaults to the current version)
-
Click Build
The build is submitted to the CI/CD pipeline. iOS builds typically take 60-90 minutes; Android builds take 15-30 minutes.
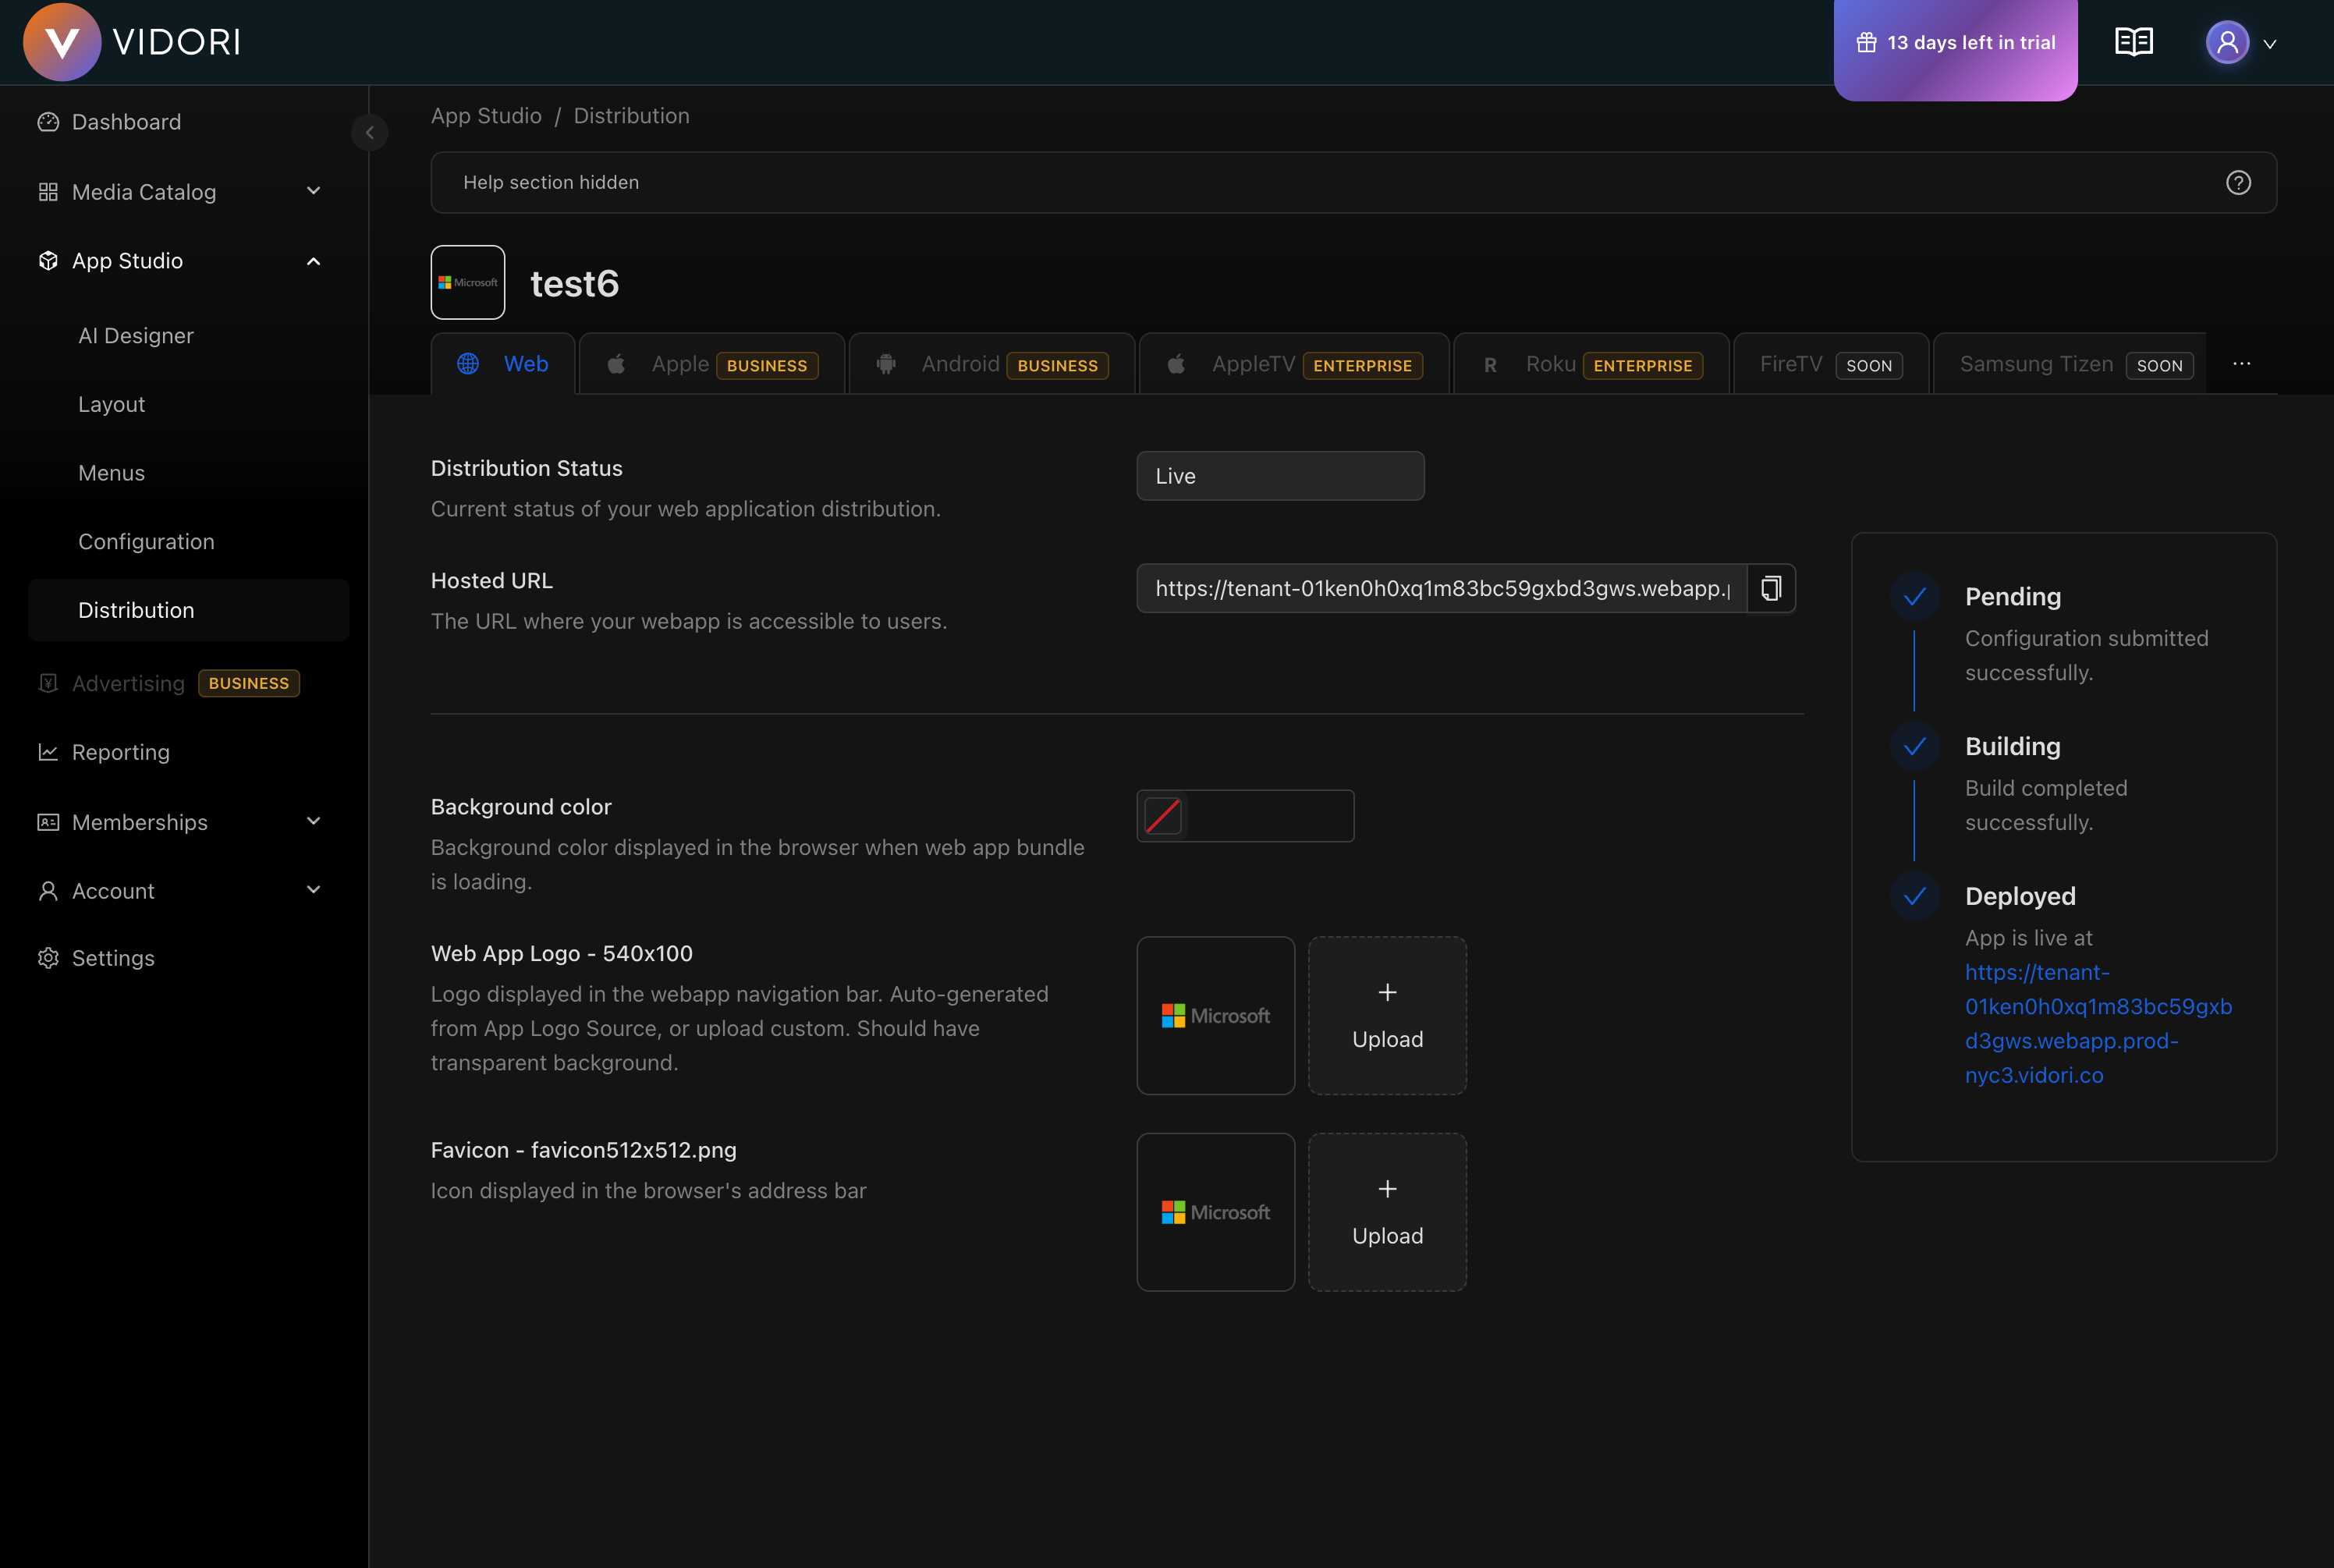
Monitoring Build Status
Section titled “Monitoring Build Status”After triggering a build, the Distribution page shows the current status:
| Status | Meaning |
|---|---|
| Building | The build is in progress |
| Success | The build completed and was uploaded to the app store |
| Failed | The build failed — check the error message for details |
The status updates automatically as the build progresses.
Troubleshooting
Section titled “Troubleshooting”iOS: “Bundle ID is required for Apple distribution”
Section titled “iOS: “Bundle ID is required for Apple distribution””The Bundle ID has not been set. Go to App Studio → Distribution → iOS and enter your Bundle ID (e.g., com.yourcompany.yourapp). This must match the App ID registered in your Apple Developer account. See step 2 above.
iOS: “Unable to authenticate with App Store Connect”
Section titled “iOS: “Unable to authenticate with App Store Connect””The API key credentials are incorrect. Double-check:
- The API Key ID and Issuer ID in App Configuration
- The uploaded
.p8file matches the key ID - The API key has the App Manager role in App Store Connect
Android: “Application ID is required for Android distribution”
Section titled “Android: “Application ID is required for Android distribution””The Application ID has not been set. Go to App Studio → Distribution → Android and enter your Application ID (e.g., com.yourcompany.yourapp). This is the unique package name for your app on Google Play. See step 4 above.
Android: “Google Play service account not found”
Section titled “Android: “Google Play service account not found””The GoogleCloudServiceKey.json file is missing or wasn’t uploaded. Upload it via the Distribution page.
Android: “Package name must be specified”
Section titled “Android: “Package name must be specified””Same as the Application ID error above. The Application ID field on the Distribution page must be filled in before building.
Android: “Upload to Google Play failed”
Section titled “Android: “Upload to Google Play failed””The service account may not have the correct permissions. Verify:
- The service account is linked in Google Play Console → Settings → API access
- The service account has permission to release to production for your app
- The Google Play Android Developer API is enabled in your Google Cloud project
Build fails immediately
Section titled “Build fails immediately”Check that all required configuration is set in App Configuration. The Distribution page shows validation errors for missing fields.